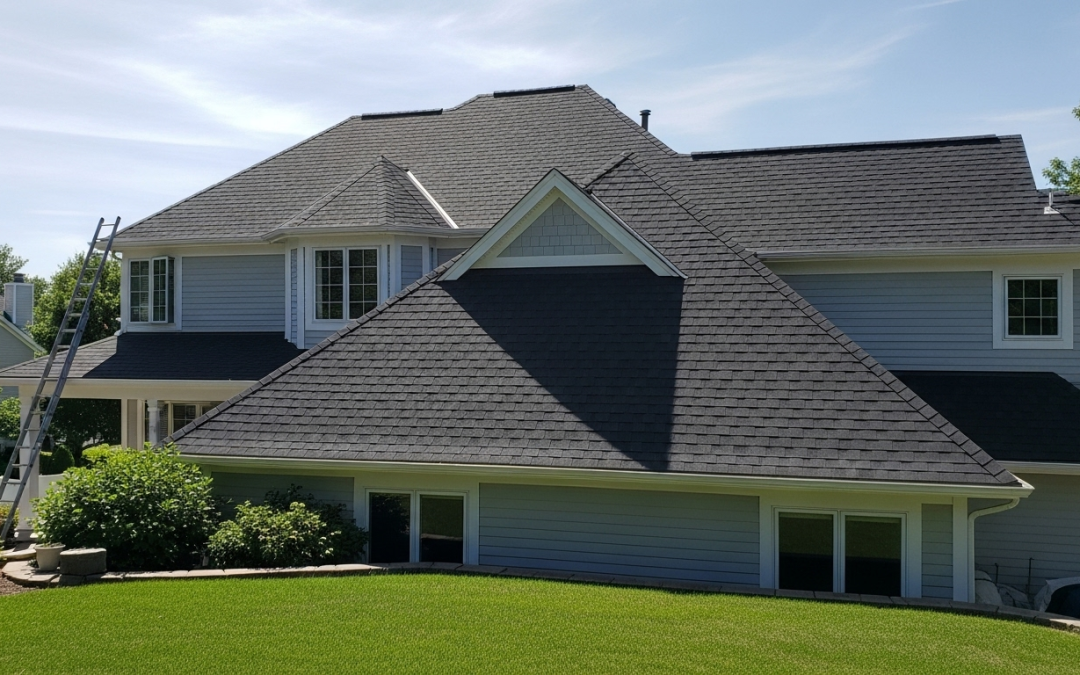
A complete roof replacement represents one of the most substantial investments a homeowner can undertake. Although selecting materials and a contractor (as elaborated in our other articles) is vital, the successful execution of the project relies on thorough financial and logistical planning. Avoid allowing an unnecessary setback to disrupt your project—refer to this important pre-replacement checklist.
1. Mastering the Budget: Beyond the Contractor Quote
A common mistake is budgeting only for the contractor’s fee. A comprehensive roof replacement budget must account for several other critical factors:
-
Contingency Fund (10-15%): Nearly every replacement reveals unexpected issues beneath the surface—rotted decking, damaged flashing, or structural concerns. A contingency fund ensures you can address these issues without stopping the project or taking out a last-minute loan.
-
Permit and Inspection Fees: Local councils require permits for structural work. These fees are usually the homeowner’s responsibility or included in the initial quote, but you should confirm their exact amount and ensure they are covered.
-
Debris Disposal Costs: Removing the old roof involves significant waste. Ensure the quote explicitly details who manages and pays for the dumpster rental and disposal fees.
-
Material Upgrades: If you decide to upgrade insulation, change the ventilation system, or switch to a higher-grade material mid-project, factor in these costs.
2. Navigating Local Regulations and Permits
Never begin a replacement without the necessary permits. Failing to secure a permit can lead to fines, stop-work orders, and mandatory removal of new construction, which is both costly and time-consuming.
-
Who Files the Permit? In most cases, a reliable contractor will manage the permit application process. Verify this in your contract.
-
What Documentation is Needed? Usually, the application requires project plans, structural details, and proof of the contractor’s license and insurance.
-
The Inspection Schedule: Be clear on when the city inspector will need access (typically before work begins, during crucial stages, and upon completion). This ensures the work meets local building codes and protects your home’s long-term integrity.
3. Defining the Project Timeline
The duration of a replacement project can vary widely based on roof size, complexity, and weather. Establish a clear, realistic timeline with your contractor upfront.
-
Phase 1: Preparation (1-2 Days): Includes material delivery, staging equipment, and protecting your property (landscaping, driveways, etc.).
-
Phase 2: Tear-Off and Deck Inspection (1-3 Days): Removal of the old roof, assessment of the decking, and any necessary minor repairs. This is where unexpected delays often occur.
-
Phase 3: Installation (3-7 Days): Installation of the underlayment, flashing, ventilation, and final roofing material.
-
Phase 4: Cleanup and Final Inspection (1 Day): Comprehensive removal of debris, magnet sweeping for nails, and the final walk-through with the contractor, followed by the local authority’s final inspection.
Tip: Always discuss contingency plans for rain or bad weather, as this is the most common cause of project delays in regions with unpredictable climates.
Conclusion: Planning for a Seamless Replacement
Your roof serves not merely as a barrier; it functions as a complex system of interrelated components. Each layer, ranging from the hidden decking to the exposed shingles, collaborates seamlessly to safeguard your most treasured asset. A high-quality roof encompasses not only the materials employed but also the professional skill necessary to guarantee that every individual element is installed properly. By choosing to invest in a new roof or significant repairs, you are making a commitment to the well-being and durability of your entire home.

