
To move beyond the basic checklist, focus on these critical selection and preparation details that define the success and longevity of your new roof.
1. The Material Selection Deep Dive
Don’t just choose based on cost. Base your decision on long-term performance and local climate.
-
Compare Life Cycle Costs: While asphalt shingles are cheaper upfront, metal or tile roofing may offer superior longevity and energy savings, leading to a lower cost over the roof’s full lifespan.
-
Aesthetics and Home Value: Choose a material and color that complements your home’s architecture, as this significantly impacts curb appeal and resale value.
-
Check Local Building Codes: Ensure your chosen material meets all municipal standards, especially concerning fire ratings or wind resistance specific to your area.
-
Advanced Tip: High-Wind/Impact Ratings: If you live in an area prone to severe weather (hail, high winds), specifically inquire about materials with Class 4 impact resistance or enhanced wind ratings, as these can often qualify you for insurance premium reductions.
2. Expert Contractor Vetting
Hiring the right team is the single most important factor for a successful replacement.
-
Verify Licensing and Insurance: Always request proof of a current license and general liability insurance, and crucially, Worker’s Compensation insurance. If a contractor lacks proper insurance, you could be held liable for injuries on your property.
-
Require Local References: Ask for contact information for recent, local jobs—specifically one completed in the last 1-2 years and one older job (5+ years) to evaluate long-term quality.
-
Get Detailed Quotes (The “Tear-Off” Clause): Ensure every quote explicitly states whether the project includes a full tear-off (removing all old layers) or a layover (installing new shingles over the old). A full tear-off is almost always recommended for quality.
-
Advanced Tip: Supplier Credentials: Ask the contractor if they are a certified installer for the specific shingle brand you’ve chosen. Many manufacturers offer better, non-prorated warranties only when the material is installed by one of their certified or master contractors.
3. Understanding and Securing Warranties
A warranty is only as good as the paper it’s printed on; understand the two types you will receive.
-
Manufacturer’s Warranty (Materials): This covers defects in the roofing materials themselves (e.g., shingles). Note that these are often prorated, meaning their coverage value decreases over time.
-
Workmanship Warranty (Labor): This is provided by the contractor and covers issues arising from improper installation (e.g., leaks due to poor flashing). A long-term workmanship warranty (10+ years) from an established company provides excellent security.
-
Read the Fine Print: Understand what actions—like improper ventilation or certain unapproved maintenance—could void the warranty.
4. Preparation for the Project Day
Minimize disruption and protect your property while the crew is on site.
-
Protect Valuables: Remove or cover items in the attic. Shingle removal can cause dust and debris to fall through into the attic space.
-
Clear the Perimeter: Remove all loose items, patio furniture, and potted plants from the area 10-15 feet around the house to prevent damage from falling debris.
-
Secure Wall Hangings: Shingle removal can cause strong vibrations. Take down pictures, mirrors, and delicate objects hanging on interior walls, especially those on the top floor, to prevent them from falling.
-
Communicate Pet Safety: Ensure a plan is in place to keep pets safe, as the work is loud and may scatter nails or debris in the yard.
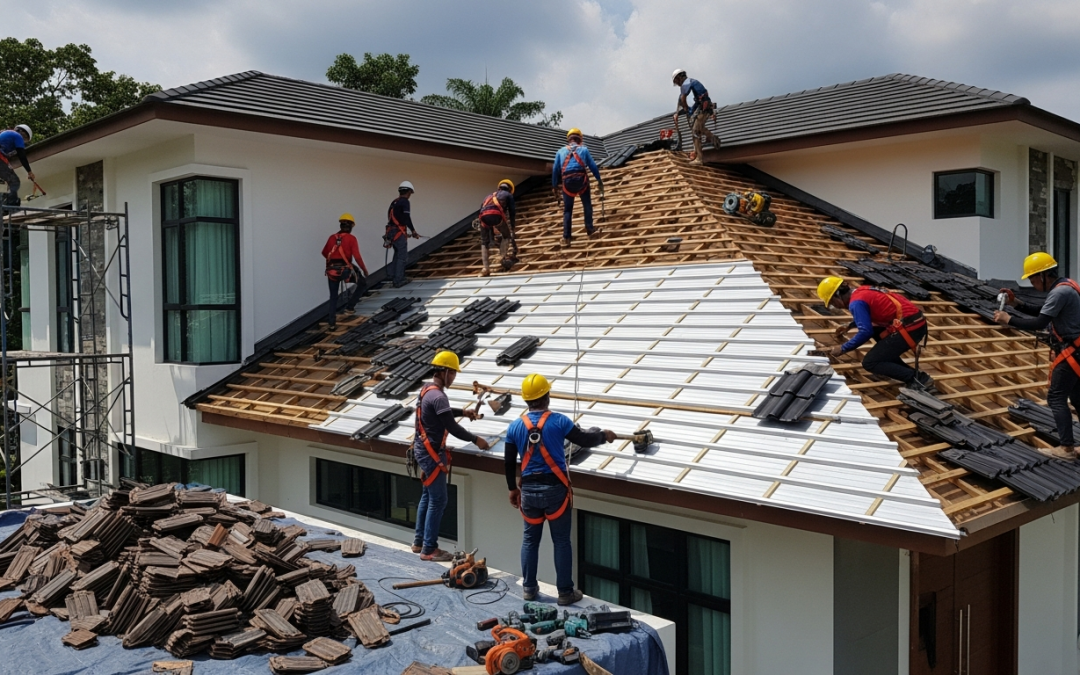
5. Installation Quality Control and Final Inspection
The longevity of your roof relies heavily on proper installation of the underlayment and flashing—the true waterproofing elements.
-
Insist on New Flashing: Confirm the quote includes the replacement of all existing metal flashing (around chimneys, skylights, and vents), not just reusing or painting the old material. Proper step flashing and counter flashing are essential leak barriers.
-
Verify Underlayment Detail: The roofing paper or synthetic underlayment is the secondary waterproof barrier. Ensure the crew is using ice and water shield (a specialized, self-adhering membrane) in critical areas like valleys, eaves (rake edges), and around all penetrations. This is required by code in many cold climates but is beneficial everywhere.
-
The Contingency Clause: Discuss potential hidden damage before work starts. Set a clear, written protocol for how the contractor will handle unexpected rot, termite damage, or mold found once the old material is removed, including the agreed-upon rates for necessary extra wood decking replacement.
-
The Final Walkthrough and Payment Holdback: After the work is done and cleanup is complete, perform a joint inspection with the site foreman. Check the ground for nails (using a magnetic sweeper). Do not pay the final balance (5% to 10%) until the city/municipal inspector has signed off on the project and you are fully satisfied with the quality and final cleanup.
Conclusion
In conclusion, a successful roof replacement transcends simply installing new shingles; it is a strategic investment in your home’s future protection. Achieve this success by prioritizing expert contractor vetting, which includes verifying critical insurance and securing manufacturer-certified installation. Insist on quality control for all technical details, such as replacing all flashing and properly installing ice and water shield in critical areas. By understanding and securing comprehensive warranties and ensuring thorough pre-project preparation and final inspection sign-off, you safeguard your investment against premature failure, ensuring the longevity and structural integrity of your home for decades to come.