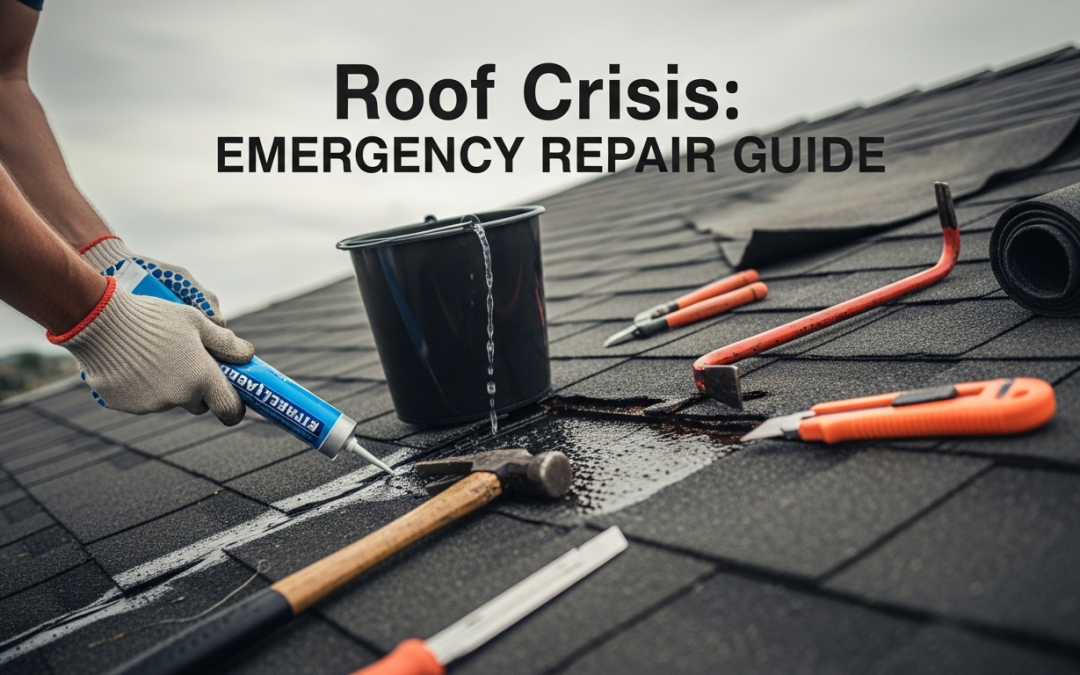
An unforeseen storm, a broken tree branch, or an unanticipated heavy rainfall can transform a completely intact roof into a significant crisis. During these urgent situations, it is essential to respond swiftly, safely, and appropriately to reduce water damage, safeguard your home’s integrity, and manage the insurance claims process. This guide outlines the essential steps that every homeowner must take in the event of a roofing emergency.
1. Safety First: The Immediate Priorities
Your personal safety is non-negotiable. Never climb onto a damaged roof during active rain, high winds, or if it shows signs of structural sagging or instability.
-
Evacuate if Necessary: If there is severe structural damage (e.g., a tree through the roof, extensive collapse), evacuate the immediate area, or the home entirely.
-
Contain Interior Leaks: The priority is to mitigate interior damage.
-
Place buckets or containers under active leaks.
-
If the ceiling is bulging (a sign of pooled water), carefully puncture the lowest point with a screwdriver to release the water gradually into a container. This prevents a sudden, much larger ceiling collapse.
-
-
Turn Off Power: If water is leaking near electrical fixtures, outlets, or wiring, immediately turn off the power to that section of the house at the breaker box.
2. Document and Contact
These steps are crucial for the long-term success of your repair and insurance claim.
-
Document the Damage: Before attempting any temporary fixes, take clear, timestamped photos and videos of the damage:
-
Inside: Water stains, leaks, damaged belongings, and wet ceilings/walls.
-
Outside: Missing shingles, holes, debris, and the general state of the roof (taken safely from the ground using a zoom lens or binoculars).
-
-
Contact Your Contractor (or Emergency Service): Call a licensed, local roofing company that offers 24/7 emergency services. Explain the severity of the situation. A reputable contractor will often prioritize tarping to protect your home.
-
Contact Your Insurance Provider: Report the claim immediately. Ask about:
-
Your deductible and coverage for the damage.
-
Whether you can proceed with a temporary repair (like tarping) and if they require specific documentation for reimbursement.
-
If they have a list of approved or preferred emergency contractors.
-
3. The Temporary Fix: Tarping for Protection
A waterproof tarp is the best short-term solution to prevent catastrophic water damage while you await permanent repairs. Only attempt this if it is safe, the roof is stable, and the weather has cleared. The process involves three key steps
- Clear Debris: Start by gently removing any loose debris, such as small branches and leaves, that could impede the tarp placement. It is crucial to not attempt to remove large, heavy objects like fallen trees, as debris can puncture the tarp or create gaps for water to intrude.
- Place the Tarp: Choose a heavy-duty, durable, waterproof tarp large enough to fully cover the damaged area, extending beyond it by several feet. Ideally, the tarp should run up and over the roof ridge if the damage is high up; this helps divert water away from the leak path and keeps the system watertight.
- Secure the Tarp: To prevent the wind from pulling the tarp off, secure it properly. Roll the edges of the tarp around wooden $2 \times 4$ boards (often called “batten boards”) and nail these boards securely into the roof deck several feet away from the damaged area. This method minimizes new nail holes in the vulnerable spot. Avoid stapling or nailing the tarp directly.
4. Preparation for the Long-Term Repair
Once the immediate threat is contained, prepare for the permanent solution:
-
Vetting Your Contractor: Even in an emergency, be sure to use a licensed, insured, and reputable local contractor. Avoid “storm-chasers.”
-
Documentation Storage: Keep all receipts for temporary fixes, notes from calls, and photographic documentation in a single file for your insurance adjuster.
-
Full Inspection: Allow the professional contractor to perform a full, detailed inspection (including the attic) to assess for hidden structural damage, damp insulation, or mold, which often accompany a leak.
Conclusion: Plan Now, Protect Later
A roof emergency is stressful, but it doesn’t have to become a financial catastrophe. By prioritizing safety, immediate damage containment, and thorough documentation, you create the best possible conditions for a successful insurance claim and a proper, lasting repair. Remember that temporary repairs—especially professional tarping—are your best friends immediately after damage occurs. Take the time now to save the contact information for a trusted, 24/7 emergency roofing service. This simple act of preparation is the ultimate crisis management tool.

